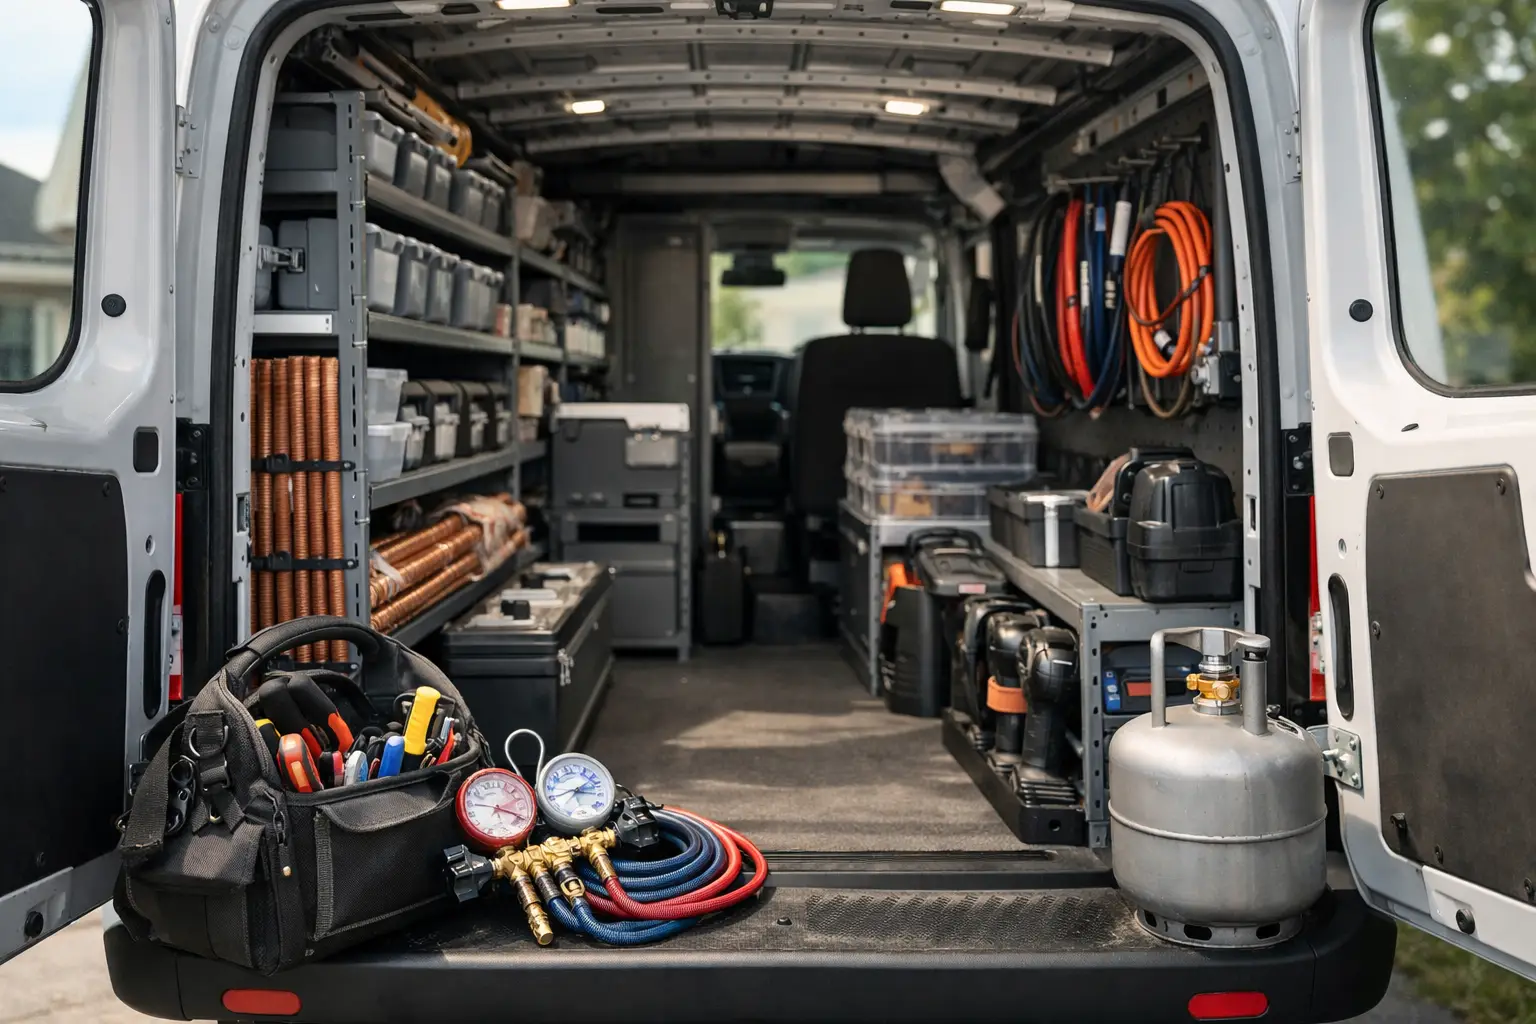
A van can be fully stocked and still slow a technician down. The problem is rarely a lack of tools. It is the time lost opening three bins to find one fitting, digging through loose parts, or realizing a common capacitor is gone after arriving at the job. These HVAC work van organization ideas are built around a simple goal: make the next diagnostic or repair item easy to find, easy to replenish, and hard to misplace.
A clean van is not just a better-looking van. It supports faster problem solving, fewer repeat trips, and a more consistent service experience for the customer. The right setup will differ between a maintenance-heavy residential tech and a commercial technician carrying larger parts. Still, the operating principles are the same.
Start With the Work, Not the Shelves
Before buying racks, bins, or drawer systems, look at what actually happens during a service call. A technician usually moves through a predictable sequence: arrive, diagnose, retrieve tools, test components, make a repair, document the work, and restock. Van organization should support that sequence.
Start by pulling everything out of the cargo area and sorting it into three groups: daily-use tools and materials, weekly-use equipment, and backup inventory. If an item has not been used in months, it may not deserve a permanent prime location. That does not mean getting rid of it. It means moving it to a less accessible area or storing it at the shop.
This is also the time to remove duplicate tools, expired products, damaged fittings, and mystery boxes. Every unnecessary item takes up space and makes the useful inventory harder to see.
Build Clear HVAC Work Van Organization Zones
A technician should be able to identify where an item belongs without reading a map. Divide the van into zones based on how often items are used and what type of work they support. The exact layout depends on the van, but these four zones give most teams a workable starting point:
- Grab-and-go zone: Frequently used hand tools, meters, screwdrivers, nut drivers, wire strippers, electrical tape, and common test leads.
- Diagnostic zone: Gauges, probes, manometers, temperature clamps, charging hoses, combustion testing equipment, and reference materials.
- Repair parts zone: Capacitors, contactors, relays, fuses, wire, terminals, drain treatment, PVC repair materials, and other common replacement items.
- Large equipment zone: Vacuum pumps, recovery machines, recovery cylinders, ladders, extension cords, coil-cleaning equipment, and heavier specialty tools.
Put the grab-and-go and diagnostic zones closest to the side or rear door used most often. A tool that comes out on nearly every call should not live behind a recovery machine. Keep heavy equipment low and secured near the floor. This protects the technician, reduces shifting while driving, and prevents shelves from becoming overloaded.
Give Every Tool a Home
The best organization systems make missing items obvious. Shadow foam, labeled drawers, tool bags with designated pockets, and outlined pegboard spaces can all work. The method matters less than consistency.
For hand tools, many technicians prefer a primary tool bag or backpack that can move from the van to the equipment quickly. The van then becomes the reset point. At the end of each call, tools return to the same pockets and compartments. This approach is especially useful in apartment buildings, rooftops, or commercial sites where repeated trips to the van cost time.
Keep delicate diagnostic equipment protected in a dedicated case or padded drawer. Meters, wireless probes, and electronic scales do not belong loose beneath hoses and fittings. When a meter fails because it was bounced around in the cargo area, the van setup has created a diagnostic problem instead of preventing one.
Use Labels That Work at a Glance
Labels should answer a simple question: what goes here? Use large, readable labels on drawers, bins, shelf fronts, and cases. Clear bins make inventory visible, but they still need labels because similar parts can look nearly identical from a standing position.
Avoid labels that are too broad, such as “electrical” or “parts.” A technician under pressure needs a faster answer. Use labels such as “5-45 MFD capacitors,” “low-voltage terminals,” “3A and 5A fuses,” or “drain repair.” For bins containing many small items, add a divider label inside the bin as well.
Color coding can help, but do not rely on color alone. A blue bin may mean electrical parts to one technician and refrigeration tools to another. Pair color with plain-language labels so new hires and helpers can follow the system immediately.
Stock Parts Based on Real Call History
There is a trade-off between carrying enough parts to finish common repairs and turning the van into a rolling warehouse. The answer is not to carry every possible part. It is to stock what your service history proves you need.
Review service tickets from the last busy season. Look for the parts that consistently resolve no-cool, no-heat, airflow, drainage, and electrical issues in your market. A residential team may prioritize common capacitors, contactors, fuses, universal relays, float switches, wire, and drain supplies. A commercial team may need more controls, belts, filters, and specialized fittings.
Set minimum and maximum quantities for fast-moving items. For example, if a tech should always have at least two of a common capacitor range, make the minimum visible on the bin label or inventory sheet. When the count reaches that minimum, restock it. A simple reorder point is more dependable than relying on memory after a long day.
Keep Refrigerant, Chemicals, and Heavy Gear Secure
Organization also includes safety. Recovery cylinders must be upright and restrained. Chemicals should be stored according to their labels and kept separate from tools and loose electrical components. Sharp materials, blades, and tubing cutters need covered storage. Ladders, extension cords, and vacuum pumps should not be able to move when the van turns or stops.
Do not put the heaviest equipment on high shelves just because there is open space. High storage may improve floor room, but it creates lifting risk and can make the van unstable. Store heavy equipment low, then reserve upper shelving for lightweight parts, filters, and labeled containers.
A floor liner and cargo tie-down points are worthwhile because they make cleanup and secure storage easier. Dirt, insulation, drain water, and loose screws accumulate quickly in a working van. A setup that can be swept and reset in a few minutes is more likely to stay organized.
Create a Restock Routine That Actually Happens
A well-organized van falls apart when restocking is informal. The most practical system is a short end-of-day routine. Before leaving the shop or finishing the day at home, remove trash, return tools to their homes, check the main fast-moving bins, recharge batteries, and flag any parts that need replacement.
The routine should take minutes, not an hour. If it takes too long, technicians will skip it when calls run late. Some companies assign restocking to a warehouse team. Others make each technician responsible for their own vehicle. Either method can work if the minimum stock levels and ownership are clear.
For multi-tech teams, keep the organization pattern the same across vehicles whenever possible. A lead technician should be able to enter another van and locate a common part without searching. Standardization also makes onboarding easier and reduces the chance that a technician leaves with the wrong equipment.
Keep Information as Organized as the Van
Physical organization solves only part of the service-call delay. Technicians also lose time searching through downloaded manuals, screenshots, text threads, and old notes when a fault code or unusual sequence appears. Keep diagnostic references, procedures, calculators, and field knowledge organized in one accessible system, just as you keep tools and parts organized in the van.
HVAC Assist Pro can serve as that technical assistant for the field by helping technicians access manuals, guided instructions, and shared problem-solving information without relying on scattered communications. The goal is not more software. It is fewer places to search when the equipment is waiting and the customer needs an answer.
Review the Setup After the Busy Season
A van organization system should change when the work changes. At the end of a heating or cooling season, ask technicians what they reached for most, what they repeatedly ran out of, and what took up space without earning its spot. Use that feedback to move items, adjust stock levels, and remove friction before the next demand spike.
The best van layout is not the one with the most shelves or the most inventory. It is the one that helps a technician walk to the right door, grab the right item, and get back to solving the problem without wasting a minute looking for it.