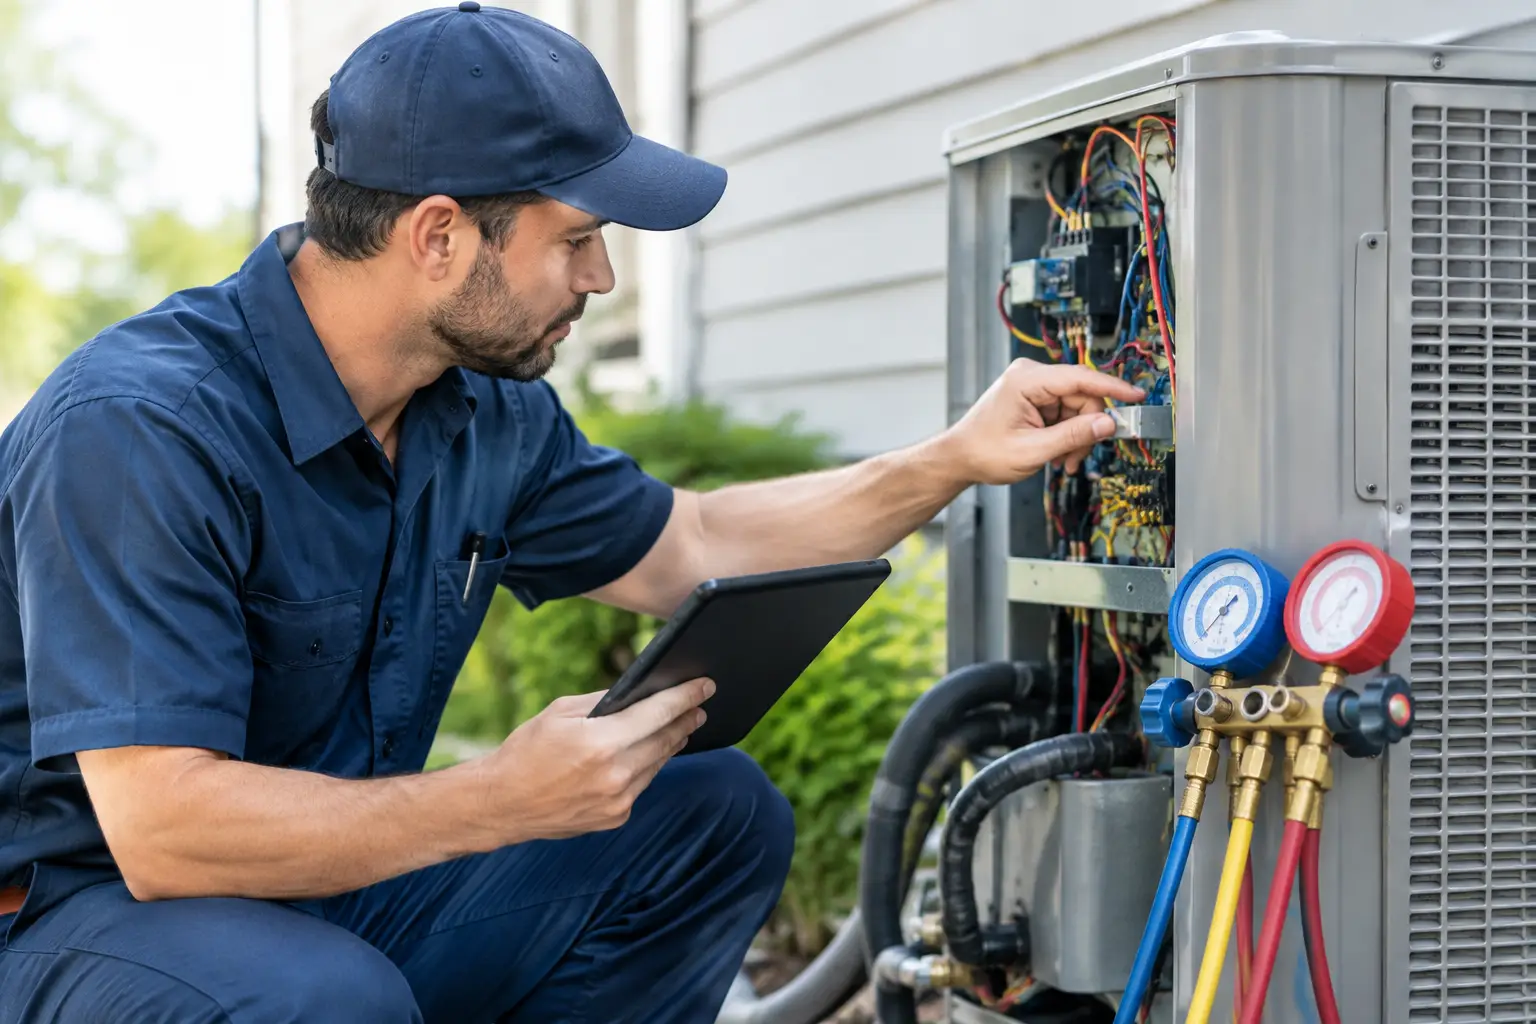
A no-cool call with a tripped breaker is not automatically a bad compressor. A furnace that short-cycles does not automatically need a new limit switch. HVAC fault diagnosis works when technicians separate the customer’s symptom from the condition causing it, then prove the cause before recommending a repair.
That sounds basic, but rushed calls create expensive assumptions. A replacement part may temporarily change the symptom while leaving the original airflow, electrical, control, or installation problem in place. A repeatable diagnostic process protects the technician, the customer, and the company’s callback rate.
Start HVAC Fault Diagnosis With the Complaint
Begin with what happened, when it happened, and what changed. The customer may report that the system "stopped working," but a useful service call starts with details: Does it fail all the time or only during a particular part of the day? Did the thermostat display go blank? Did the outdoor unit run while the indoor blower did not? Was there a storm, a power interruption, construction work, a filter change, or a new thermostat?
The complaint directs the first checks, but it is not the diagnosis. A homeowner may say the unit is freezing up. The technician still needs to determine whether the system has low airflow, a refrigerant issue, an evaporator coil restriction, a blower problem, or a control problem that keeps the equipment running under the wrong conditions.
Confirm the operating mode before pulling panels. Verify thermostat settings, setpoint, actual room temperature, power status, and whether the equipment is being called to run. On communicating equipment, capture displayed fault codes before cycling power. Clearing a code too early can erase useful evidence.
Make the Equipment Safe Before Testing
Electrical and rotating equipment hazards do not disappear because the issue looks simple. Follow lockout and tagout procedures when required, verify voltage with a meter, discharge capacitors properly, and use appropriate personal protective equipment. Never treat a disconnect as proof that all power is removed.
Safety also protects the diagnosis. A damaged wire, loose terminal, burnt contactor, failed capacitor, or blocked vent may be visible during a careful inspection. Finding it before extensive testing can save time, but visual evidence should still be verified. A burnt terminal, for example, may point to a loose connection, excessive current, heat damage, or more than one of those conditions.
Take a quick equipment inventory while you are there. Record model and serial information, equipment type, refrigerant type, accessory controls, and any field-installed changes. The correct manual, wiring diagram, sequence of operation, and manufacturer specifications matter. Similar-looking equipment can use different control logic, pressure switches, sensor values, or board terminals.
Follow the Sequence of Operation
Most HVAC problems become easier to isolate when the technician follows the order the system is supposed to operate. Instead of testing every component at random, identify the point where the sequence stops or changes unexpectedly.
For a conventional cooling call, that may mean verifying the thermostat call, 24-volt control signal, safety circuit status, indoor blower operation, outdoor contactor operation, compressor and fan performance, then refrigerant-side conditions. For heating equipment, the sequence may move from call for heat to inducer operation, pressure-switch proof, ignition, flame sensing, blower timing, and limit operation.
The exact order depends on the equipment. Heat pumps, communicating systems, variable-speed blowers, zoning panels, and integrated accessories add more decision points. Still, the approach remains the same: identify the expected input, observe the actual response, then test the component or circuit that connects them.
A board that does not energize an output is not automatically bad. Check whether it received the correct input and whether an open safety, failed sensor, missing neutral, or communication fault is preventing the command. Replacing a board without confirming its inputs is one of the fastest ways to create an unnecessary parts bill.
Use Measurements, Not Guesswork
A meter, clamp meter, manometer, thermometer, and quality pressure probes are diagnostic tools, not just final verification tools. Measure voltage under load when the situation calls for it. Compare amp draw with rated values and operating conditions. Check temperature rise, temperature split, static pressure, combustion readings, and refrigerant performance against the equipment’s requirements.
One reading rarely tells the whole story. Low suction pressure can suggest low refrigerant charge, but it can also be caused by low indoor airflow, a restricted metering device, reduced load, or an evaporator issue. High head pressure may relate to an overcharge, dirty condenser, non-condensables, condenser fan trouble, high ambient conditions, or a restriction. The useful question is not "What part does this number condemn?" It is "What conditions would produce this group of readings?"
Use manufacturer data whenever available. Generic rules can help form a starting point, but equipment design, refrigerant, staging, airflow targets, and ambient conditions affect what normal looks like.
Check Airflow Before Blaming Refrigerant
Airflow is often the hidden cause behind comfort complaints, frozen coils, limit trips, noisy equipment, and poor capacity. A dirty filter is only one possibility. Inspect the blower wheel, evaporator coil, return path, supply registers, dampers, duct restrictions, blower settings, and static pressure.
A variable-speed blower can complicate the picture. It may increase speed to maintain airflow as static pressure rises, masking a duct or coil restriction until it reaches its limit. At that point, the system can show symptoms that look like a refrigerant or control issue. Verify airflow settings and external static pressure rather than assuming the motor is delivering the required airflow.
For gas heating equipment, restricted return air or an overfired condition can contribute to high temperature rise and limit operation. For cooling, insufficient airflow can lower evaporator temperature enough to create frost or ice. Correcting charge before correcting airflow can leave the system worse than it was.
Separate Electrical Faults From Control Faults
Electrical faults and control faults overlap, but they require different thinking. An electrical problem may involve missing line voltage, an open winding, a weak capacitor, a failed relay, a poor connection, or excessive current. A control problem may involve an incorrect thermostat signal, an open safety, failed sensor feedback, a programming issue, or lost communication.
Test from source to load. If a motor will not run, verify incoming voltage, commanded voltage, control signal, and motor condition. If voltage is present at the load but the load does not operate, the component may be at fault. If voltage is absent, move upstream through the circuit rather than replacing the load.
Intermittent faults need more patience. Heat, vibration, moisture, and current load can expose failures that a quick static test misses. Look for patterns. Does a contactor chatter only when the transformer is loaded? Does a rollout switch open after several minutes? Does a drain safety trip only in humid weather? The timeline is evidence.
Prove the Repair and Record What You Found
A repair is not complete when the new part is installed. Run the system through the appropriate operating sequence and verify the original complaint is resolved. Confirm relevant readings after the repair, including voltage, amp draw, temperature, pressure, airflow, combustion, or control operation as applicable.
Then document the problem, cause, correction, and final results in clear field language. Good notes make the next visit faster, especially when a different technician returns. They also help identify recurring installation issues, equipment trends, and training gaps across a company.
This is where organized diagnostic information pays off. HVAC Assist Pro gives technicians a single place for manuals, guided problem-solving steps, calculators, and field discussion, so the answer is not buried in a truck, a text thread, or a 260-page manual. The goal is not to replace technician judgment. It is to make reliable information available when the equipment is open and the customer is waiting.
When the Answer Is Not Obvious
Some calls do not produce a clean failure on the first visit. A system may be operating normally when you arrive, or the customer’s complaint may depend on outdoor temperature, humidity, occupancy, electrical load, or a specific operating mode. In those cases, do not force a diagnosis to fit the first theory.
Document conditions, capture readings, inspect likely contributors, and explain what has been verified versus what remains unproven. If appropriate, use temporary monitoring, schedule a return during the reported conditions, or consult equipment-specific resources and experienced technicians. A careful "not yet confirmed" is more professional than a confident but unsupported repair recommendation.
The best diagnostic habit is simple: slow down long enough to verify the cause. Every measured reading, confirmed input, and documented result makes the next decision easier and gives the customer a repair they can trust.