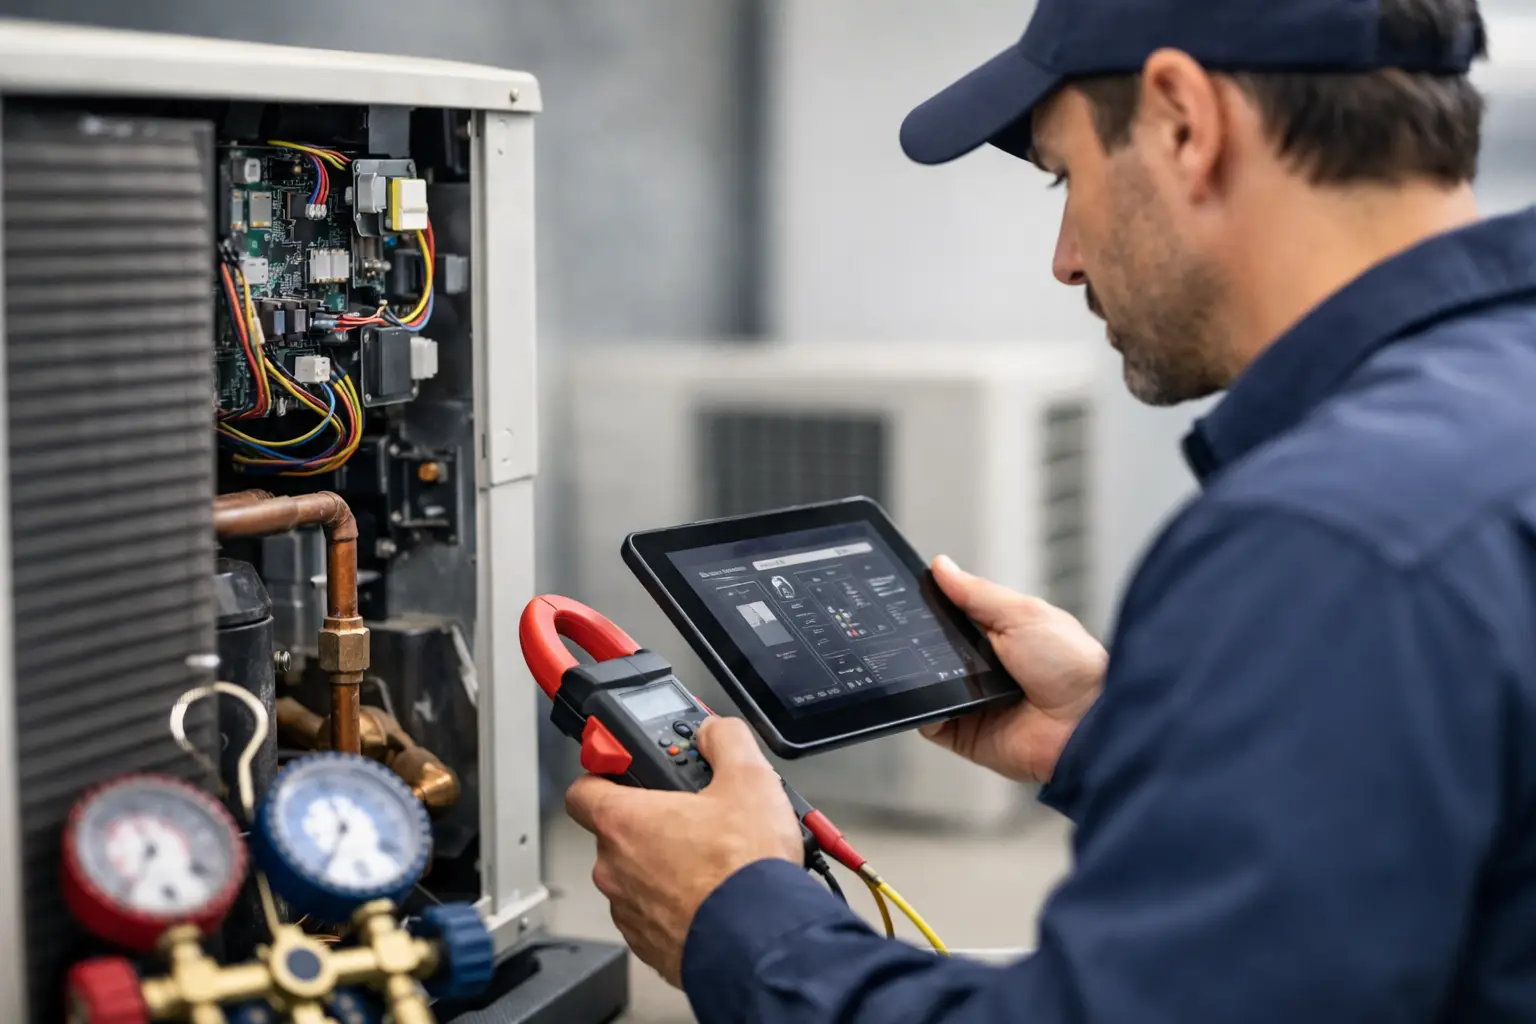
A flashing LED on a furnace board or a code on a communicating thermostat can save time, but only if the code is read in the right context. An HVAC fault code lookup gives a technician a starting point for problem solving. It does not replace meter readings, visual inspection, sequence-of-operation checks, or safe electrical practices.
The field challenge is rarely finding a code. It is deciding whether that code identifies the failed component, reports a condition created somewhere else in the system, or records a fault that has already cleared. A pressure-switch code, for example, may point to a switch issue, but it can also be caused by vent restrictions, condensate backup, a weak inducer, incorrect pressure, damaged tubing, or wiring trouble.
What an HVAC Fault Code Lookup Should Tell You
A useful lookup does more than translate a number or LED pattern into a one-line description. It should identify the equipment family, model-specific meaning, fault status, likely causes, and the checks needed before a part is replaced.
Manufacturers reuse similar wording across product lines, but codes are not universal. A "limit switch open" fault may appear under different code numbers depending on the furnace control board. A communication fault on one inverter system may mean an indoor-to-outdoor wiring problem, while another manufacturer may use the same general description for a board, address, or power issue.
That is why the equipment model matters. Record the full model number, serial number when available, control-board part number, and the exact code or flash sequence. On equipment with LEDs, count the flashes carefully and confirm whether the pattern is a current fault, a stored fault, or a normal status indication. One missed pause can change the result.
HVAC Fault Code Lookup Starts With Equipment Identification
Before searching a manual or code library, verify what is actually in front of you. Condensing furnaces, heat pumps, package units, ductless systems, boilers, and commercial rooftop units can have multiple control revisions under one broad product name. The cabinet label alone may not identify the installed board or communicating control.
Start with the unit model and the component showing the fault. If the alert appears on a thermostat, check whether the code belongs to the thermostat, indoor unit, outdoor unit, or the network between them. If the code comes from a furnace board, verify the board label and LED legend inside the panel. If the system has been repaired before, look for replacement boards, added accessories, zoning controls, condensate safety switches, and aftermarket low-voltage devices.
This step feels basic, but it prevents a common service mistake: using the first code chart found online and testing the wrong circuit. The right code description attached to the wrong model is still bad diagnostic information.
Separate Current Faults From Fault History
Many modern controls store the last few lockouts or active faults. A history code is useful, especially with intermittent calls, but it is not proof that the same fault is present now. Clear or document the history according to the manufacturer procedure, then run the equipment through the reported mode when conditions allow.
Watch the sequence. On heating calls, confirm thermostat demand, board response, inducer operation, pressure-switch operation, ignition sequence, flame proving, blower delay, and limit status. On cooling or heat-pump calls, confirm demand, indoor airflow, contactor or inverter response, fan operation, refrigerant circuit conditions, sensor readings, and communication status.
A code reports what the control believes happened. Your job is to determine why it happened.
Use the Code to Build a Test Order
The fastest technicians do not test every component at random. They use the fault description to build a short, logical test order. Start with the conditions that can create the fault, then test the circuit or component named by the code.
For example, an open-limit fault calls for more than continuity testing at the limit switch. If the switch is open, determine whether it opened because of airflow, overheating, a failed blower motor, a dirty evaporator coil, a blocked filter, excessive gas input, a restricted return, or a failed switch. If the switch is closed when you arrive, inspect wiring and terminals, check for a stored event, and verify the system through a complete cycle.
Likewise, a condensate-related fault should lead to a drain and trap inspection before replacing a pressure switch or control board. A high-pressure fault on a cooling system may require checking outdoor coil condition, fan operation, airflow, charge, ambient conditions, and service-valve position. The code narrows the path. Measurements confirm the cause.
Check the Simple Conditions First
Simple checks are not shortcuts. They are often the correct first test because many faults result from installation conditions, maintenance issues, or loose connections. Inspect connectors, wire routing, fuse condition, drain tubing, filters, doors, venting, and obvious signs of water or heat damage before condemning electronics.
Then use the right instrument for the question. A voltmeter confirms voltage and drops under load. An ohmmeter helps test de-energized components. A manometer verifies pressure-related operation. Clamp meters, temperature probes, airflow tools, and refrigeration instruments provide the data needed to separate a symptom from a cause.
Never bypass a safety device just to make equipment run. Temporary diagnostic procedures must follow manufacturer instructions and should be performed only when they can be done safely. A bypass can turn a useful fault into equipment damage, unsafe combustion, flooding, or a missed root cause.
Why Generic Code Charts Can Cost You Time
Generic charts are useful for recognizing common categories such as pressure, ignition, limit, sensor, or communication faults. They are not enough for final diagnosis. A generic chart usually cannot tell you the exact board revision, test pin location, expected timing, reset procedure, or whether a particular code applies only after multiple failed attempts.
It also cannot account for field modifications. A unit may have a replacement thermostat, a zoning panel, a condensate switch added after installation, or a non-original control board. Those details can change the signal path and the correct diagnostic procedure.
Use general information to orient yourself, then confirm against the manufacturer documentation for the exact equipment. Keep a record of the code, conditions, readings, and final repair. That record becomes more valuable when the same system calls back with an intermittent issue or another technician needs to continue the diagnosis.
Create a Repeatable Code Lookup Process
For service teams, fault-code knowledge should not live only in one experienced technician's phone, truck, or memory. A consistent workflow keeps the diagnostic process moving when the lead technician is unavailable.
A practical process is to capture the model and exact code, verify whether the fault is active or historical, review the model-specific description, inspect likely field conditions, take measurements in sequence, and document the confirmed cause and repair. Add photos of board labels, wiring, or installation conditions when they help the next person understand the call.
This is where a shared technical workspace can reduce fragmented texts, screenshots, and manual searches. HVAC Assist Pro can give technicians one place to access diagnostic references, guided problem-solving information, calculators, and field discussions without turning the service process into a business-management system.
The forum-style discussion piece matters when documentation ends at the code description. A technician may find that a certain unit series repeatedly develops a particular drain issue, connector failure, or installation-related problem. That field knowledge should be shared as a tested observation, not treated as a substitute for measurements.
When the Code Does Not Match the Symptoms
Sometimes the displayed fault does not fit what the equipment is doing. That can happen with a failing control board, poor low-voltage connections, voltage fluctuations, intermittent sensor issues, or a fault that occurred earlier in the sequence and caused a secondary lockout.
When the symptoms and code disagree, slow down. Confirm supply voltage and polarity where applicable, inspect grounds, wiggle-test suspect harnesses with care, check connector tension, and review the complete sequence rather than chasing the last displayed code. If a board is suspected, prove the inputs and outputs as far as the manufacturer procedure allows before replacing it.
A replacement board may clear the display while leaving the original condition in place. That is an expensive way to create a callback.
The best HVAC fault code lookup is the one that gets your next test right. Treat every code as a directional signal, document what the system actually does, and let verified readings lead the repair.