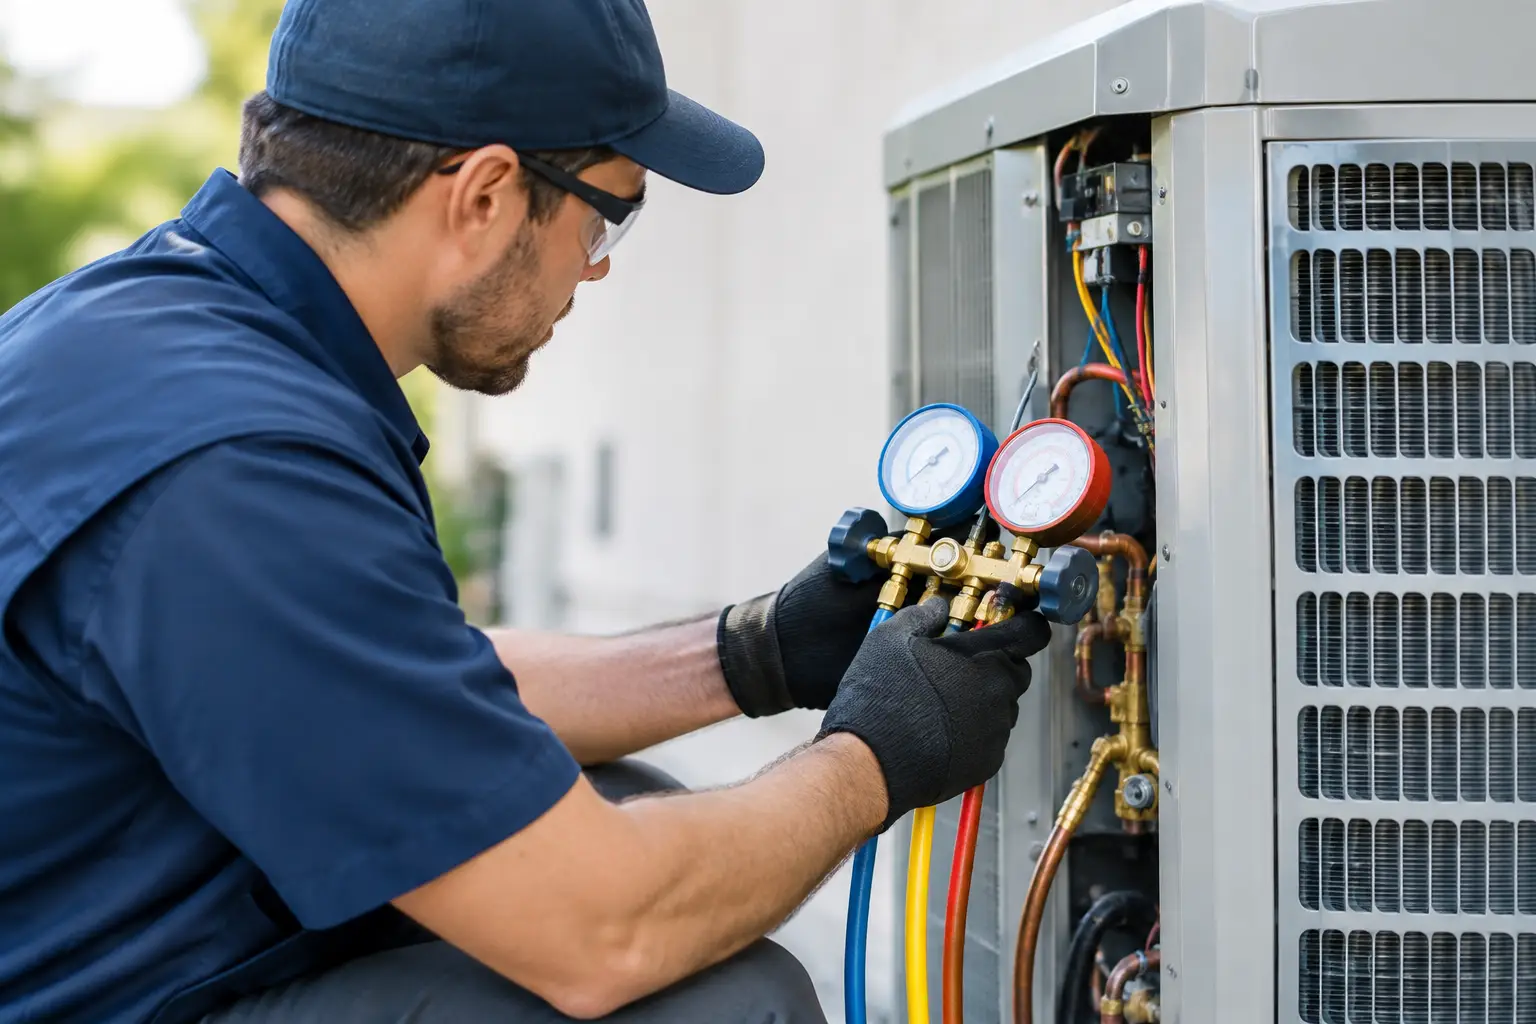
A suction pressure reading alone does not tell you whether an evaporator is fed correctly. To understand what is happening at the coil, technicians need to know how to calculate HVAC superheat from the refrigerant pressure and the actual suction-line temperature. It is a fast field calculation, but only when the readings are taken at the right location and under stable operating conditions.
Superheat helps identify whether refrigerant is leaving the evaporator as vapor, whether the coil may be starved, and whether liquid refrigerant could be returning toward the compressor. It is one piece of the diagnostic picture - not a replacement for checking airflow, indoor load, metering device operation, and refrigerant charge.
What HVAC Superheat Measures
Superheat is the number of degrees a refrigerant vapor has been heated above its saturation temperature. Inside the evaporator, refrigerant boils at a temperature determined by its pressure. Once all liquid has boiled into vapor, any additional heat raises the vapor temperature. That additional temperature is superheat.
For example, if R-410A has an evaporator saturation temperature of 40 F and the suction-line temperature is 52 F, the system has 12 F of superheat at that measurement point.
The basic formula is:
Superheat = Actual suction-line temperature - Saturation temperature
The math is simple. The diagnostic value comes from using the correct refrigerant scale, taking stable readings, and knowing where the system uses a fixed metering device or a TXV/EEV.
Tools Needed to Calculate HVAC Superheat
You need a pressure-reading device, a temperature clamp or accurate pipe thermometer, and a pressure-temperature chart or digital app that matches the refrigerant in the system. Digital manifolds can display saturation temperature automatically, but technicians should still understand the calculation. A wrong refrigerant selection in the tool creates a wrong answer even when the pressure reading is accurate.
Use a clean, well-positioned clamp. A loose clamp, direct sunlight, a hot condenser-air discharge path, or contact with insulation that has not been pulled back can distort the suction-line temperature. For repeatable results, clamp directly to clean copper and insulate the sensor from surrounding air when conditions make that necessary.
For blended refrigerants, use the correct dew temperature when calculating evaporator superheat. The refrigerant manufacturer data and your PT reference will identify the proper value. Using bubble temperature instead can make the calculation inaccurate.
How to Calculate HVAC Superheat Step by Step
Start by confirming the equipment has had enough runtime to stabilize. A system that has just started, is actively recovering from a thermostat setback, or is operating with changing airflow may produce readings that do not represent normal operation. Verify filters, blower operation, registers, coil condition, and obvious airflow restrictions before interpreting charging-related symptoms.
1. Identify the refrigerant
Read the unit nameplate or service documentation. Do not assume refrigerant based on equipment age, cabinet style, or a previous technician's note. Select the exact refrigerant in your gauges, app, or PT chart.
2. Measure the low-side pressure
Connect to the suction service port and record the stabilized low-side pressure. On many split systems, this is measured near the outdoor unit. That location is practical, but it matters because the suction line can gain heat between the evaporator outlet and the outdoor service valve.
If you are diagnosing evaporator outlet performance, take temperature as close to the evaporator outlet as practical. If you are measuring total system superheat at the condensing unit, take the temperature at the same location as the pressure measurement. Pressure and temperature must represent the same point in the refrigerant circuit.
3. Convert pressure to saturation temperature
Use the low-side pressure to find the refrigerant's evaporator saturation temperature. A digital manifold may show this as SAT, EVAP SAT, or dew temperature. A manual PT chart works just as well when read correctly.
For example, assume the measured R-410A suction pressure converts to a 40 F saturation temperature. Write it down before moving to the line-temperature reading.
4. Measure actual suction-line temperature
Clamp the temperature probe to the suction line at the selected measurement point. Wait for the reading to settle. Assume the clamp reads 54 F.
5. Subtract saturation from actual temperature
Subtract the saturation temperature from the suction-line temperature:
54 F actual suction temperature - 40 F saturation temperature = 14 F superheat
The measured superheat is 14 F.
That is the calculation. The next question is whether 14 F is expected for this specific system, metering device, load condition, and measurement location.
Interpreting the Result Without Guessing
High superheat means the refrigerant vapor is warmer than expected above its boiling point. This can indicate a starved evaporator, but it does not automatically prove the system is low on charge. A restricted metering device, restricted liquid line filter-drier, low indoor airflow, a dirty evaporator coil, low return-air load, or an incorrect fixed-orifice size can all affect the result.
Low superheat means vapor leaving the evaporator is close to saturation. Extremely low or zero superheat can indicate floodback risk, especially if the reading is taken at the evaporator outlet. Possible causes include overfeeding, a TXV issue, excessive load, incorrect airflow, or overcharge in a system where charge is evaluated by superheat.
The measurement location changes the number. Suction vapor naturally picks up heat as it travels through an uninsulated or hot attic line set. A reading at the outdoor unit may be several degrees higher than a reading at the evaporator outlet. Neither reading is automatically wrong, but they answer different diagnostic questions.
Fixed-Orifice Systems: Compare Actual to Target Superheat
For systems with a fixed orifice, piston, or capillary tube, superheat is commonly used to evaluate charge under specified conditions. In this case, technicians compare measured superheat to target superheat rather than relying on a generic “normal” number.
Target superheat is based on indoor wet-bulb temperature and outdoor dry-bulb temperature. Manufacturer charging charts provide the target for the equipment. Some digital tools calculate it after you enter those conditions.
If actual superheat is significantly higher than target under proper test conditions, the evaporator may not be receiving enough refrigerant. If actual superheat is significantly lower than target, the system may be overfed. Before adding or removing refrigerant, verify airflow and indoor conditions. Charging a system around a dirty filter, failed blower setting, or iced coil can create a second problem instead of solving the first one.
Do not use a target-superheat method when the manufacturer specifies another charging procedure. Equipment design and refrigerant type matter.
TXV and EEV Systems: Superheat Still Matters
A thermostatic expansion valve is designed to control evaporator outlet superheat. On most TXV-equipped comfort cooling systems, manufacturer-required subcooling is the primary method for verifying charge. That does not make superheat irrelevant.
Superheat remains a useful diagnostic measurement. A TXV system with unusually high superheat may have a feeding problem, a restricted liquid line, inadequate refrigerant supply, a bulb issue, or a load and airflow condition affecting valve response. Very low superheat can point toward overfeeding or valve control problems.
Electronic expansion valves add another layer because the control board uses sensors and operating logic to adjust valve position. The same field principle applies: measure pressure and temperature accurately, then compare the result with the equipment's expected operating conditions and manufacturer guidance.
Common Errors That Produce Bad Superheat Numbers
Most superheat mistakes happen before the subtraction. These four issues are common in the field:
- Using the wrong refrigerant selection or the wrong bubble/dew value for a blend.
- Taking pressure at the outdoor unit and temperature at the evaporator without accounting for suction-line heat gain.
- Measuring before the system, airflow, and indoor load have stabilized.
- Treating one superheat reading as proof of a refrigerant-charge problem without checking airflow, coil condition, and metering device operation.
A 3 F error from a poorly attached temperature clamp can change a diagnosis. So can a pressure reading affected by a restricted access fitting or a gauge setup that has not been verified. Good measurements reduce unnecessary refrigerant adjustments and repeat calls.
Use Superheat as Part of the Problem-Solving Process
Superheat works best when documented beside suction pressure, saturation temperature, suction-line temperature, indoor return conditions, outdoor ambient, subcooling, and airflow observations. That record lets the next technician see what the system was doing instead of starting over from a text message or memory.
HVAC Assist Pro is built around that kind of practical problem solving: field guidance, calculators, manuals, and shared technician knowledge in one place. Whether you use a digital calculation tool or do the subtraction manually, the goal stays the same - get reliable readings, connect them to system conditions, and make the next service decision with evidence rather than guesswork.
A superheat number is not a verdict. It is a conversation starter between the refrigerant circuit, the airflow side of the system, and the conditions the equipment is working under. Read all three before you touch the charge.